在前后端分离的大背景下,API接口就成为了连接前后端之间的关键纽带。为了更好管理接口文档,实现文档与代码的同步。这里我们引入、介绍Swagger框架,其可通过注解的方式快速完成接口文档

添加依赖
在POM添加如下依赖
1
2
3
4
5
6
7
8
9
10
11
|
<dependency>
<groupId>io.springfox</groupId>
<artifactId>springfox-swagger2</artifactId>
<version>2.9.0</version>
</dependency>
<dependency>
<groupId>io.springfox</groupId>
<artifactId>springfox-swagger-ui</artifactId>
<version>2.9.0</version>
</dependency>
|
配置
Swagger的配置代码如下所示,可以看到也是很简单的
1
2
3
4
5
6
7
8
9
10
11
12
13
14
15
16
17
18
19
20
21
22
23
24
25
26
27
28
29
30
31
32
33
34
35
36
37
|
@Configuration
public class SwaggerConfig {
@Bean
public Docket docket(){
Docket docket = new Docket(SWAGGER_2)
.apiInfo( apiInfo() )
.pathMapping("/")
.enable( true )
.select()
.apis(RequestHandlerSelectors.basePackage("com.aaron"))
.build();
return docket;
}
private ApiInfo apiInfo() {
Contact concat = new Contact("Aaron", null,null);
return new ApiInfoBuilder()
.title("Demo服务")
.description("基于SpringBoot的Demo")
.contact(concat)
.version("1.2")
.build();
}
}
|
在SpringBoot启动类上添加@EnableSwagger2注解即可
1
2
3
4
5
6
7
| @SpringBootApplication
@EnableSwagger2
public class SpringBoot1Application {
public static void main(String[] args) {
SpringApplication.run(SpringBoot1Application.class, args);
}
}
|
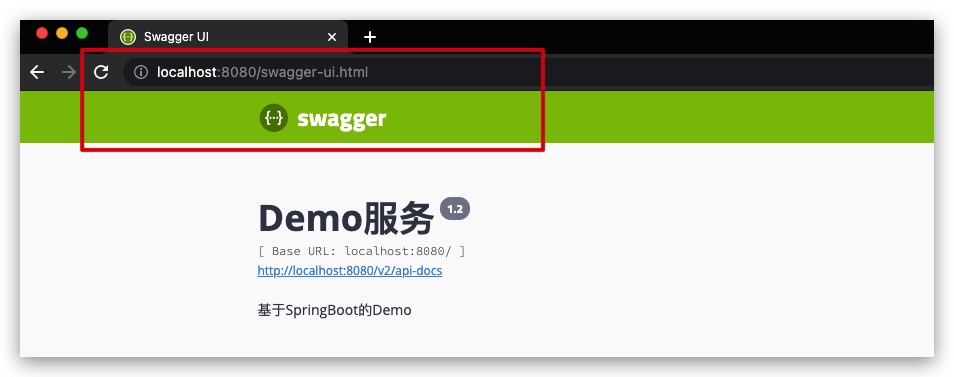
由于测试服务运行在8080端口,故打开下面的地址即可看到Swagger的页面
http://localhost:8080/swagger-ui.html
效果如下
使用
通过Swagger的注解,即可快速便捷的生成接口文档。示例代码如下所示
1
2
3
4
5
6
7
8
9
10
11
12
13
14
15
16
17
18
19
20
21
22
23
24
25
26
27
28
29
30
31
32
33
34
35
36
37
38
39
40
41
42
43
44
45
46
47
48
49
50
51
52
53
54
55
56
57
58
59
60
61
62
63
64
65
66
67
68
|
@RestController
@RequestMapping("car")
@Api(tags = "车辆管理")
public class CarController {
@PostMapping("/save")
@ApiOperation(value = "保存车辆信息", notes = "保存(添加/修改)车辆信息")
public HttpResponseResult<String> save(@RequestBody Car car) {
return null;
}
@GetMapping("/findById")
@ApiOperation(value = "根据ID获取车辆信息")
public HttpResponseResult<Car> findById(@ApiParam(value="车辆ID", required=true) @RequestParam Integer id) {
Car car = Car.builder()
.id(id)
.build();
return HttpResponseResult.<Car>builder().data(car).build();
}
@GetMapping("/findByName")
@ApiOperation(value = "根据名称获取车辆信息")
@ApiImplicitParam(name = "name",value = "名称",required = true)
public HttpResponseResult<Car> findByName(@RequestParam String name) {
Car car = Car.builder()
.name( name )
.build();
return HttpResponseResult.<Car>builder().data(car).build();
}
@GetMapping("/deleteByParam")
@ApiOperation(value = "根据条件删除")
@ApiImplicitParams({ // 通过 @ApiImplicitParams 定义多个入参说明
@ApiImplicitParam(name = "name",value = "名称",required = true),
@ApiImplicitParam(name = "id",value = "车辆ID",required = false)
})
public HttpResponseResult<Integer> deleteByParam(@RequestParam String name, @RequestParam Integer id) {
return null;
}
}
|
可以看到,对于入参说明的定义,可以通过多种方式,具体包括:@ApiParam、@ApiImplicitParam、@ApiImplicitParams等注解。特别的,对于对象(JSON格式)来说,可以通过@ApiModel、@ApiModelProperty注解定义对象、字段说明
1
2
3
4
5
6
7
8
9
10
11
12
13
14
15
16
17
18
19
20
21
22
23
24
25
26
27
28
29
30
31
32
33
34
35
36
37
38
39
40
41
42
43
44
45
46
47
48
49
50
51
52
53
|
@AllArgsConstructor
@NoArgsConstructor
@Data
@Builder
@ApiModel("汽车")
public class Car {
@ApiModelProperty("车辆ID")
private Integer id;
@ApiModelProperty("名称")
private String name;
@ApiModelProperty("价格")
private Double price;
@ApiModelProperty(value="数量", hidden=true)
private Integer num;
}
...
@AllArgsConstructor
@NoArgsConstructor
@Data
@Builder
@ApiModel("HTTP响应结果")
public class HttpResponseResult<T> {
@ApiModelProperty("状态码")
private String code;
@ApiModelProperty("信息")
private String msg;
@ApiModelProperty("数据")
private T data;
}
|
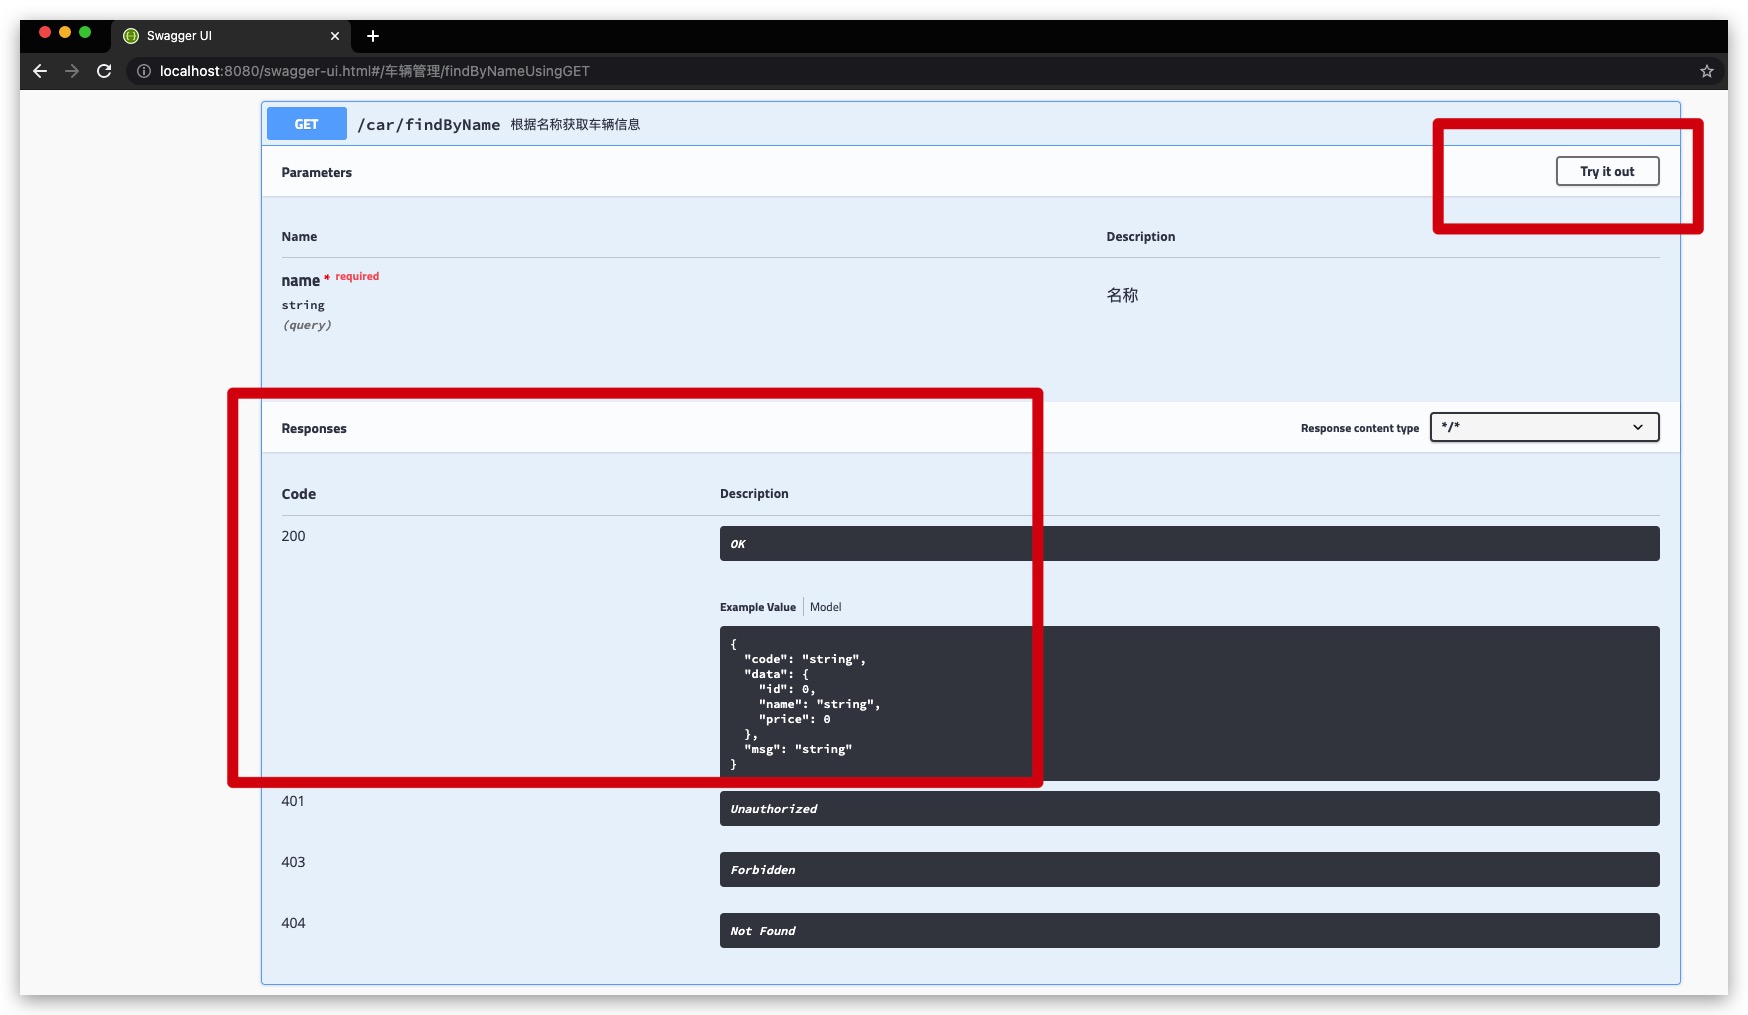
访问Swagger页面,效果如下所示

具体就某个具体的接口来看。一方面,我们可以通过Try it out按钮对后端服务进行在线测试;另一方面,其对于泛型参数也是支持的